This how-to is for Divi 4. For Divi 5 settings, see Mega Drop-down. Divi 5 uses the icon picker instead of Elegant Icons codes.
Mega Drop-down Module
Watch This Video
Introduction
Follow this step to use the Mega Drop-down Module.
Step 1: Create A WordPress Menu
You need a WordPress menu to use in the Mega Drop-down module. If you don't already have one, create a new menu that you would like to work with the Mega Drop-Down module in the WordPress Dashboard > Appearance > Menus.
Step 2: Add The Mega Drop-down Module
Go to your Mega Menu and add the Mega Drop-down module, then click the Save button. At the moment Mega Drop-Down only works on a Mega Menu positioned using the default WordPress menu and not on a Mega Menu positioned using the Tooltip (Popup).
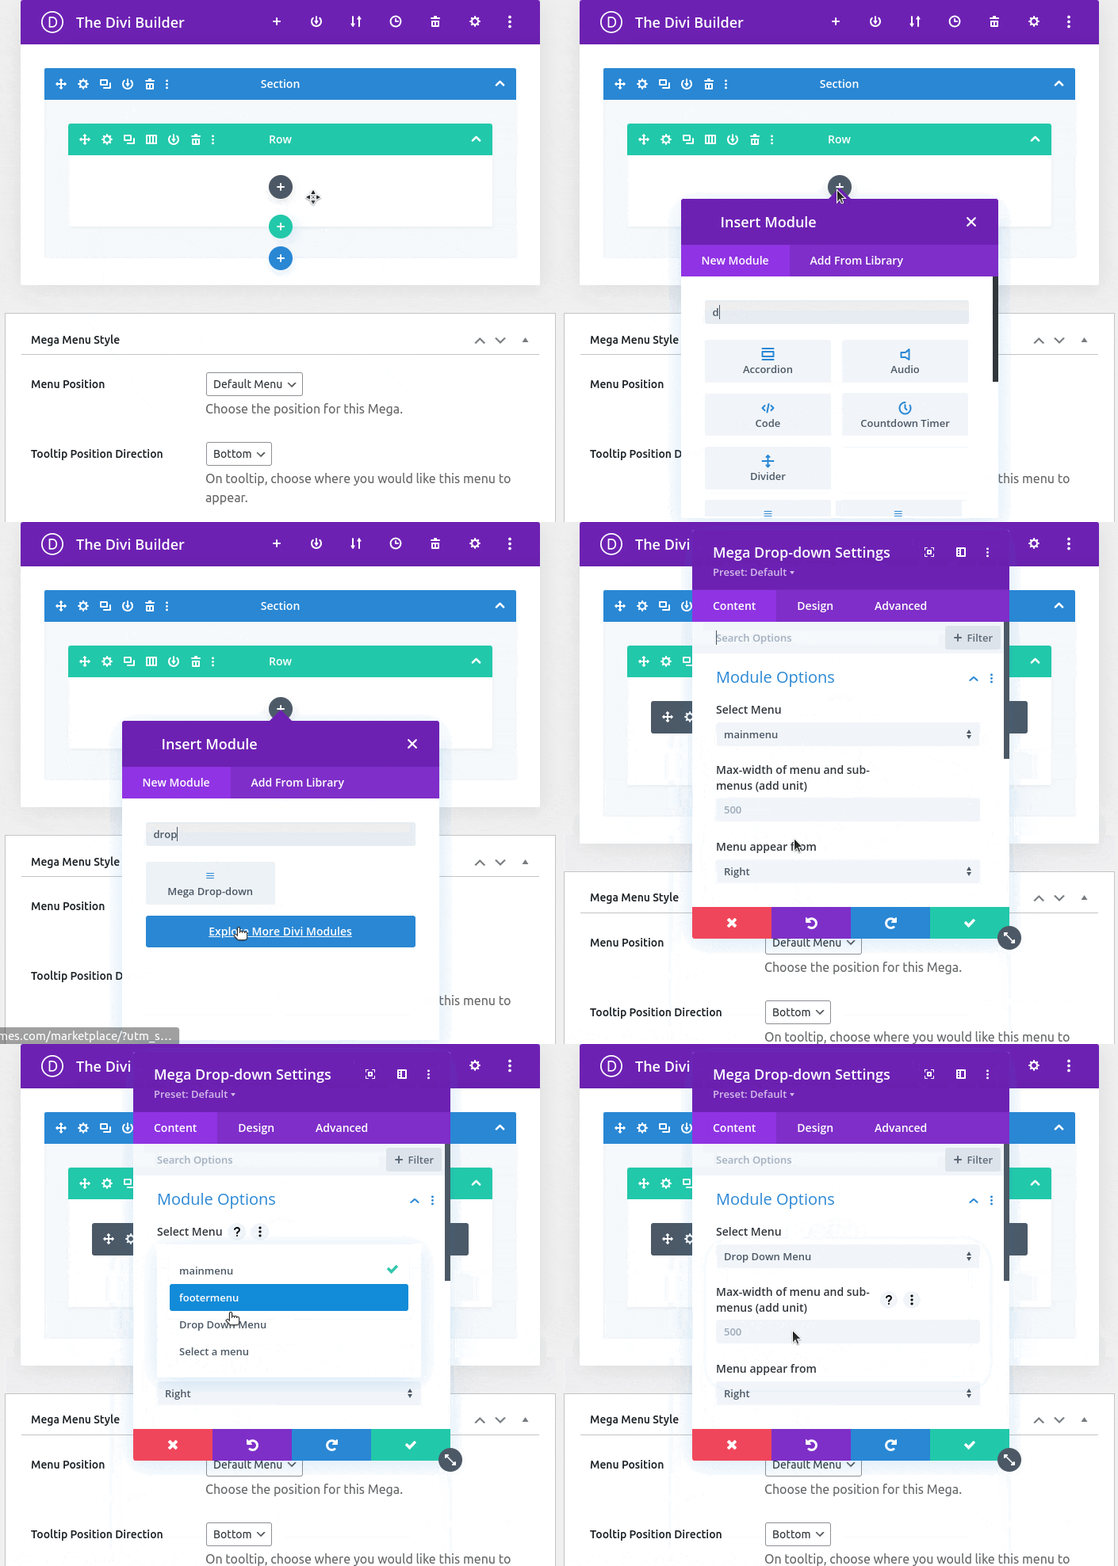
Step 3: Style the Mega Drop-down
In addition to the standard Divi styling options, we've introduced several additional features:
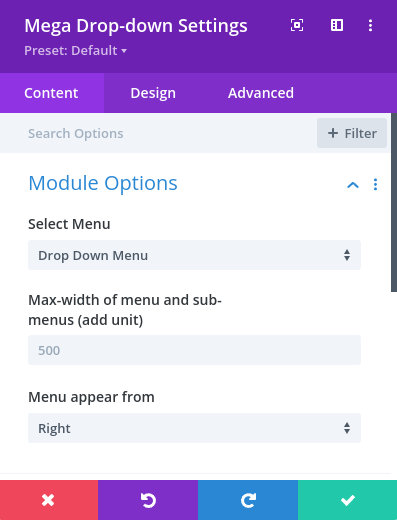
- Max-width of menu and sub-menus (add unit): Define the width using either
%,px,vw, or any other CSS length units. You can also usecalc()for more complex calculations. - Menu appearance direction: Choose the direction from which the menu should appear.
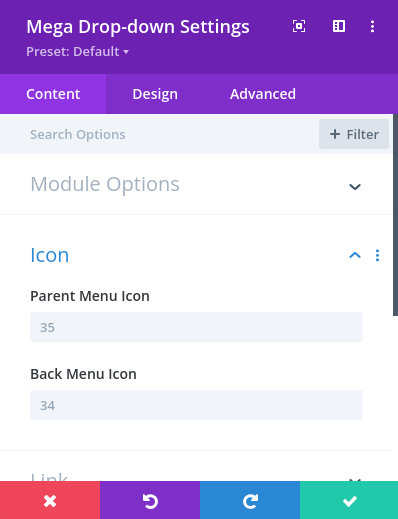
- Parent Menu Icon: To assign an icon to the parent menu, you'll need a font code. Navigate here, find the desired icon, and copy the code following
&#x—omit the semicolon (;). Input this code in theParent Menu Iconfield.

- Back Menu Icon: To set a back menu icon, follow a similar process as for the parent menu icon by copying and entering the code.
Step 4: Drop-down Overlay
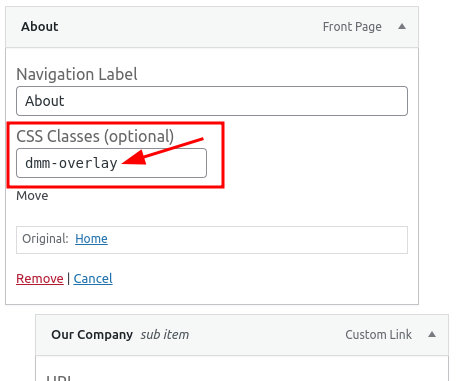
If you would like your Mega Drop-Down to overlay, please add the custom CSS class dmm-overlay into the menu like in the image below: