Building a User Registration Form with Divi Form Builder
The Divi Form Builder plugin enables you to create comprehensive registration forms that can utilize both default WordPress fields and Advanced Custom Fields (ACF) assigned to users. This guide will help you set up a user registration form that allows users to create profiles with a wide variety of metadata.
Video
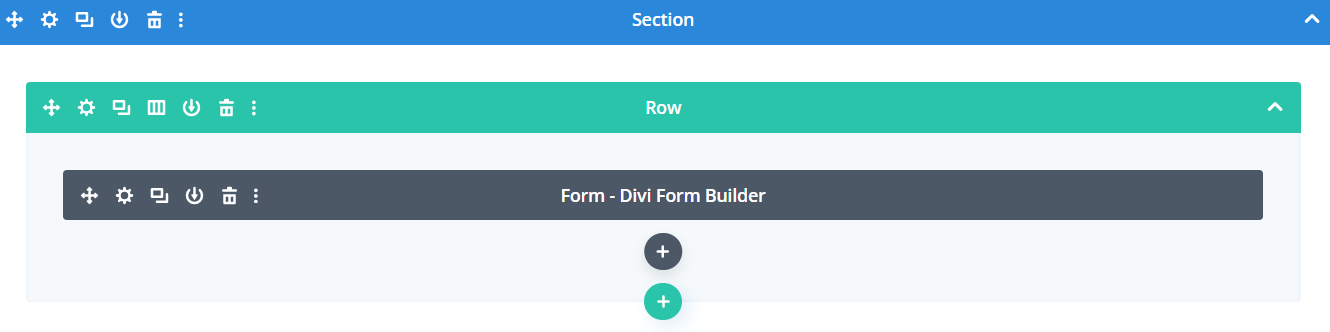
Step 1: Add The Form Module
- Navigate to the page where you want to add the registration form.
- Click on the '+' icon to add a new module, then select
Form Modulefrom the list of options.
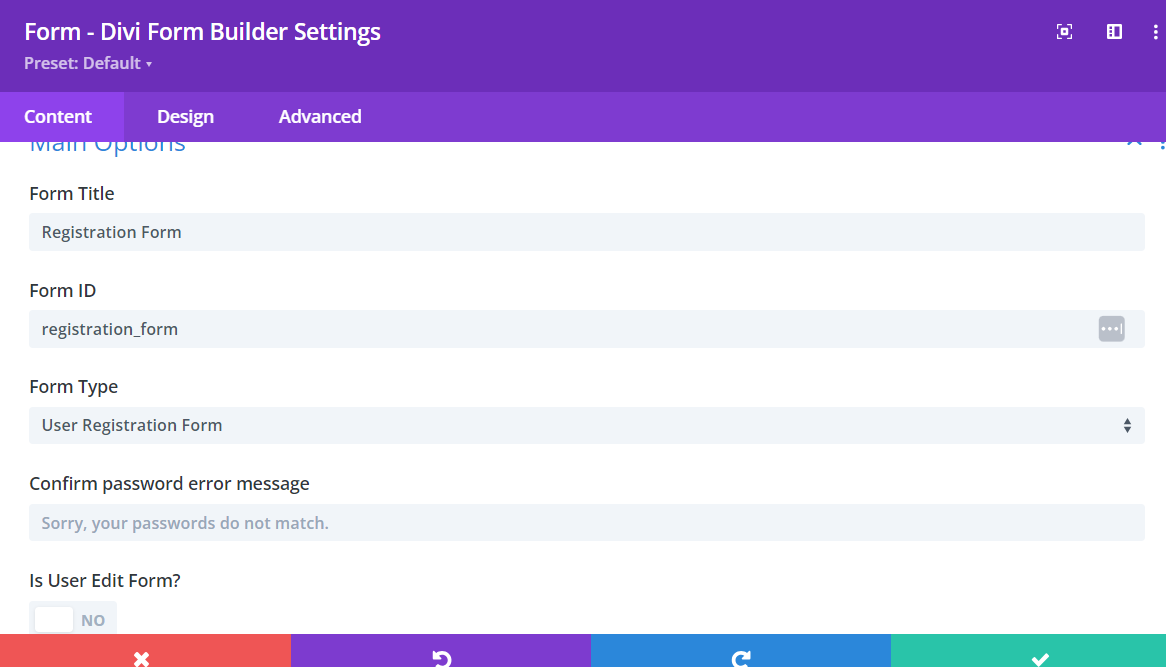
Step 2: Define Form Settings
- Add a descriptive
Form Titlefor your registration form. - Assign a unique
Form IDto the form to ensure it is easily identifiable. - Select
User Registration Formfrom theForm Typeoptions. - Customize the text of the
Submit button(e.g., "Register").
Step 3: Consider Your Fields
After configuring the main settings, you need to add and customize the form fields relevant to a registration form. There are two primary sources for these fields:
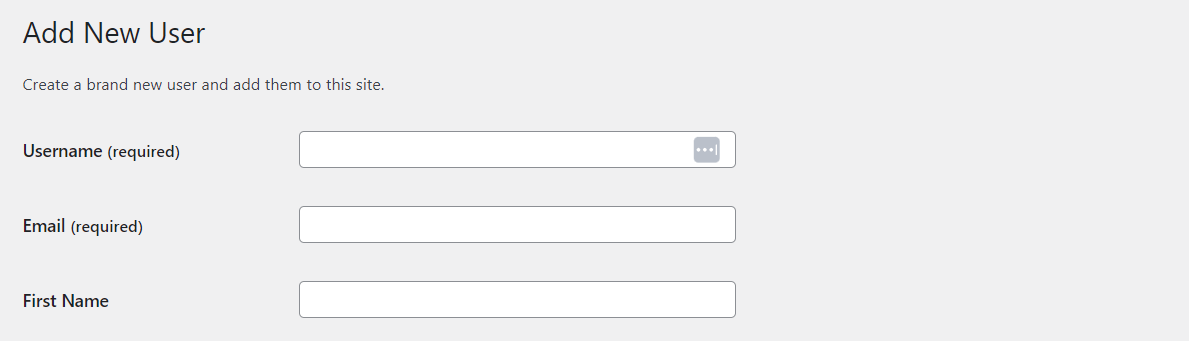
- Default WordPress User Fields:
- Visit the
Users sectionof your WordPress dashboard to see the default fields available. - At a minimum, you need the
Login NameandEmailfields for any registration form.
- Visit the
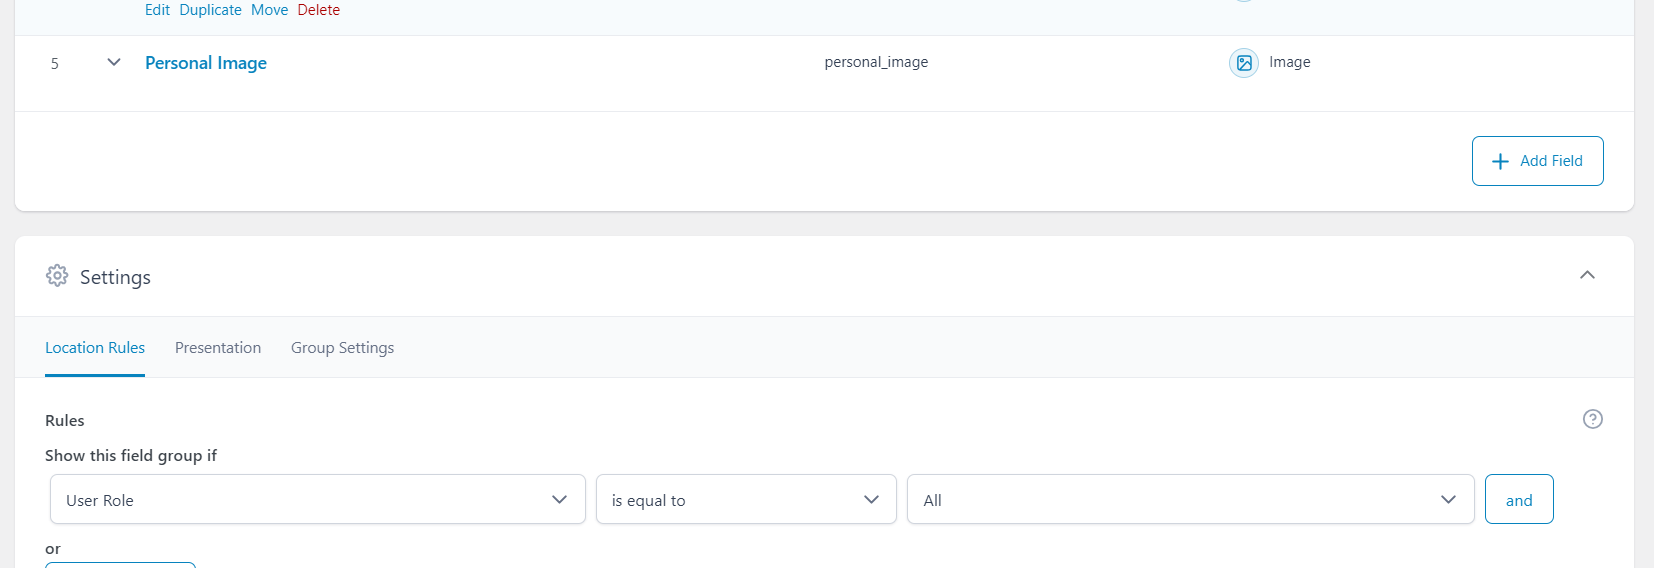
- ACF Fields:
- Use the ACF plugin to create a
Field Groupassigned to users. - Add
custom fieldswithin this group to collect additional user information.
- Use the ACF plugin to create a
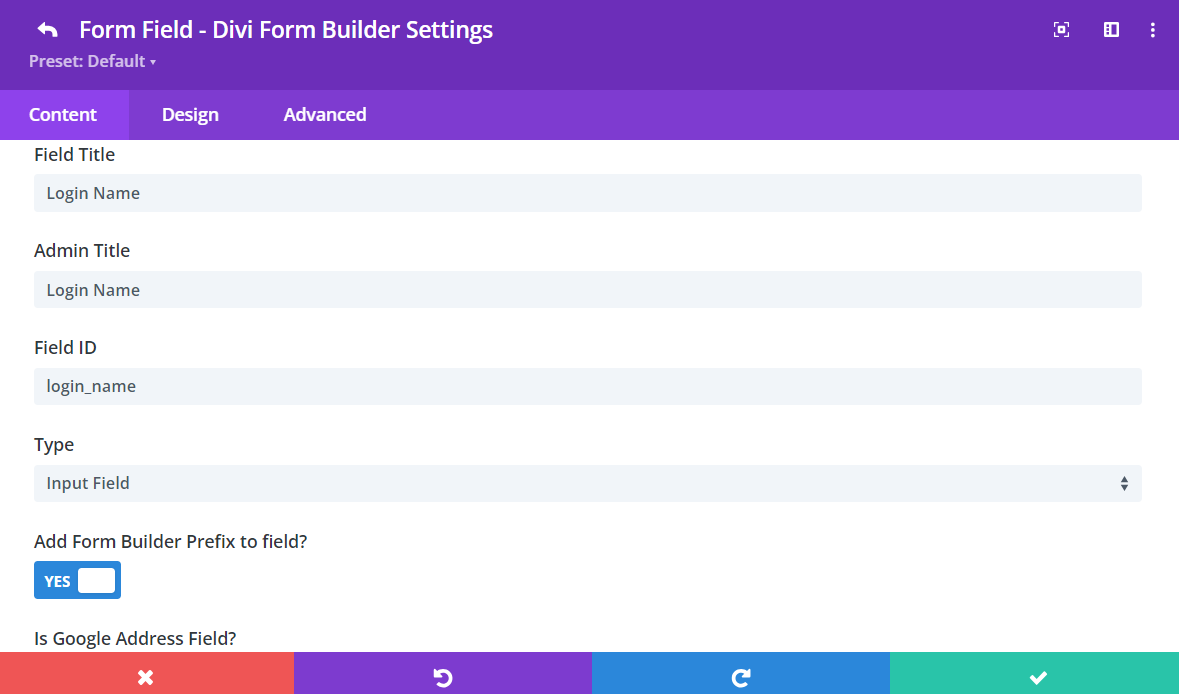
Step 4: Add Form Fields
- Click on the
Add New Fieldbutton to start adding fields to your form. - Configure Each Field:
- Add a descriptive
Field TitleandAdmin Titlefor your contact form. - Ensure each form field has a unique
Field IDfor proper data handling. - Choose from various
Field Typessuch as Email, Number, Date, Input, etc.
- Add a descriptive
For more detailed information on our Field Types, click HERE.
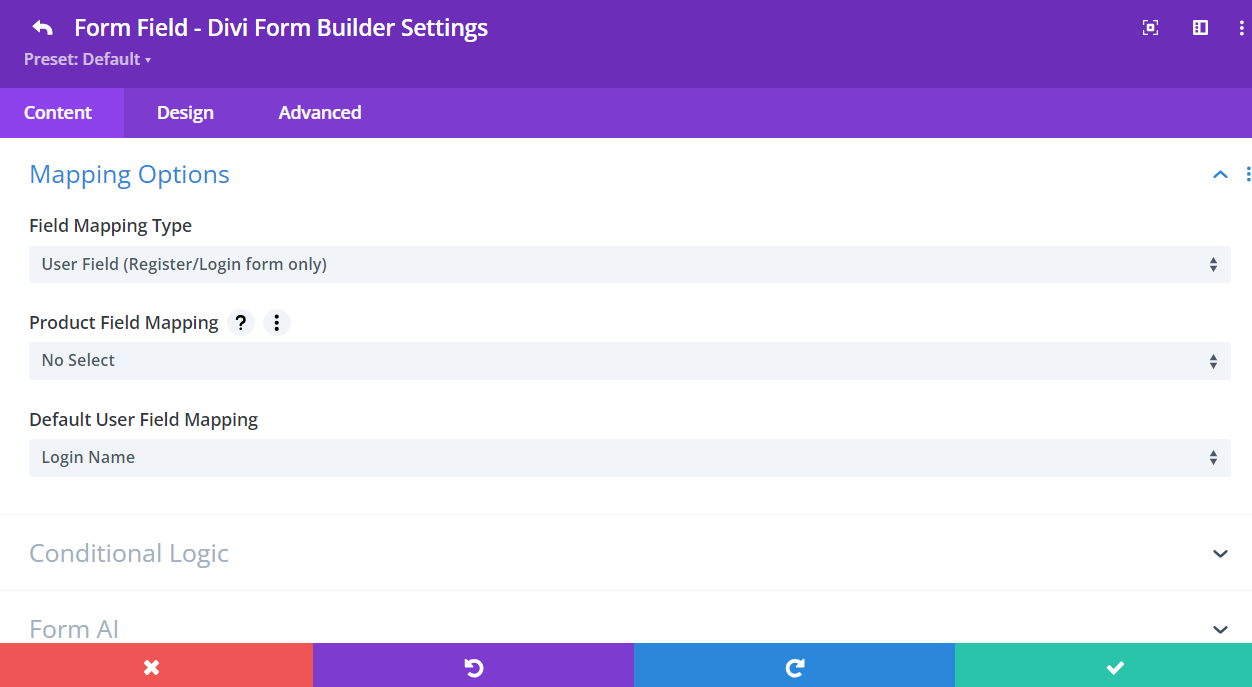
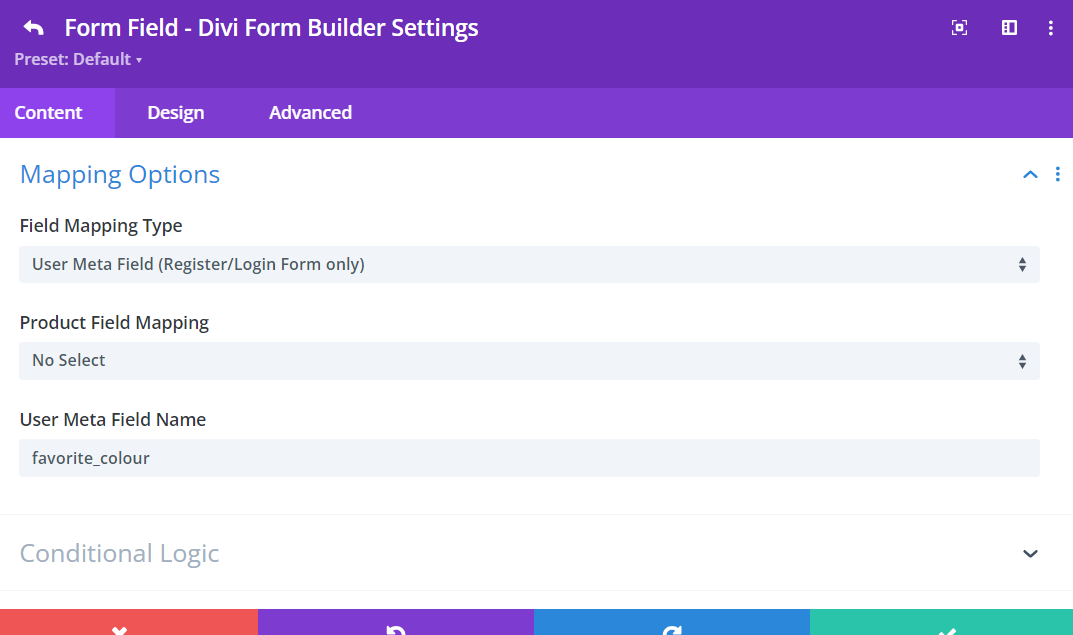
Step 5: Map Your Fields
You need to map the form fields to either default WordPress fields or ACF fields. Your registration form can have both types of fields.
- Map Default WordPress Fields:
- Select
User Field (Register/Login Form Only)from the dropdown. - Choose from the available
default WordPress User fields.
- Select
Ensure you include at least the Login Name and Email fields for your registration.
- Map ACF Fields:
- Select
User Meta Field (Register/Login Form Only)from the dropdown. - Enter the name of your user
meta fieldin the input field.
- Select
For more detailed information on field mapping, click HERE.
Step 6: Customize Registration Form
Divi Form Builder offers extensive customization options for both the entire form and individual form fields.
A Few Features
For more detailed information on our features, click HERE.
- Form-Wide options include:
- Customize the
appearanceof the entire form, including colors, fonts, and borders. - Set up
redirectionrules to take users to a specific page after form submission.
- Customize the
- Field-Specific options include:
- Customize the
appearanceof individual fields, including font size, color, and background. - Apply
conditionallogic to show or hide fields based on user input, enhancing the form's interactivity and relevance.
- Customize the
Some features are not available for the "Registration" type of form.
Additional Tips
- View the Form: Preview your new registration form containing ACF fields from the front end.
- Customize Design: Use the Design tab for additional styling to match your website’s theme.
By following these steps, you can create a fully functional registration form using Divi Form Builder that incorporates both default WordPress fields and custom ACF fields. This setup is perfect for allowing users to create detailed profiles with a wide variety of metadata.