How To Translate Your Website With GT Translate
Introduction
Follow these steps to learn how to translate your website with GT Translate.
Step 1: Download GT Translate
Click HERE to download GT Translate.
Step 2: Upload GT Translate
Head on over to the wp-admin dashboard of your website, go to the plugins repository by clicking Plugins on your left and upload.
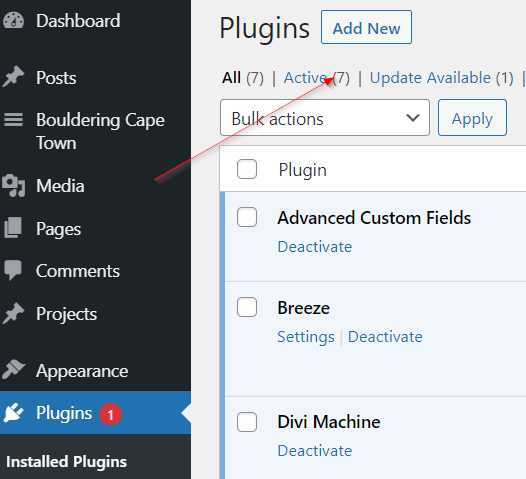
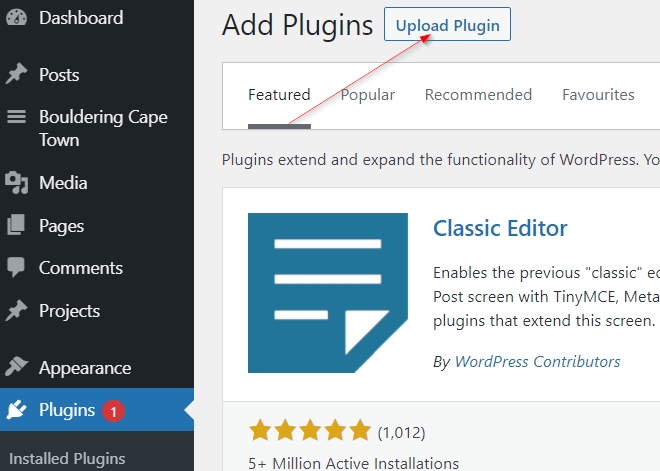
Step 3: Set Up GT Translate
There are a number of different ways to set up GT Translate. Below are the most important settings.
GT Translate
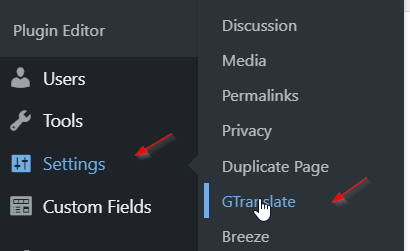
Go to Settings > GT Translate.
Seven Settings
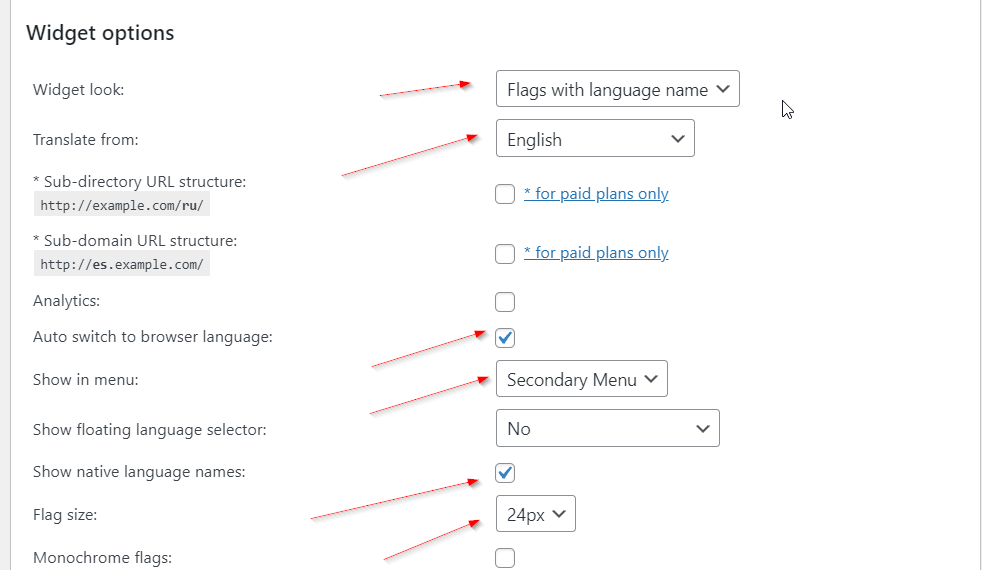
There are seven settings that you will want to adjust.
- Widget Look. Select the widget look.
- Translate From. Select your language to translate from.
- Auto Switch To Browser Language. Enable the auto switch to browser language. This way, when someone visits your website, it will automatically be translated.
- Show In Menu. Where do you want to show the translation widget? The primary, secondary or footer menu? If you select none then you will have to use the shortcode [gtranslate] to place the widget on your Divi website.
- Show Native Language Names. Do you want to show the language names in the widget in their native format? Enable that radio button.
- **Flag Size.**Select the flag size in px.
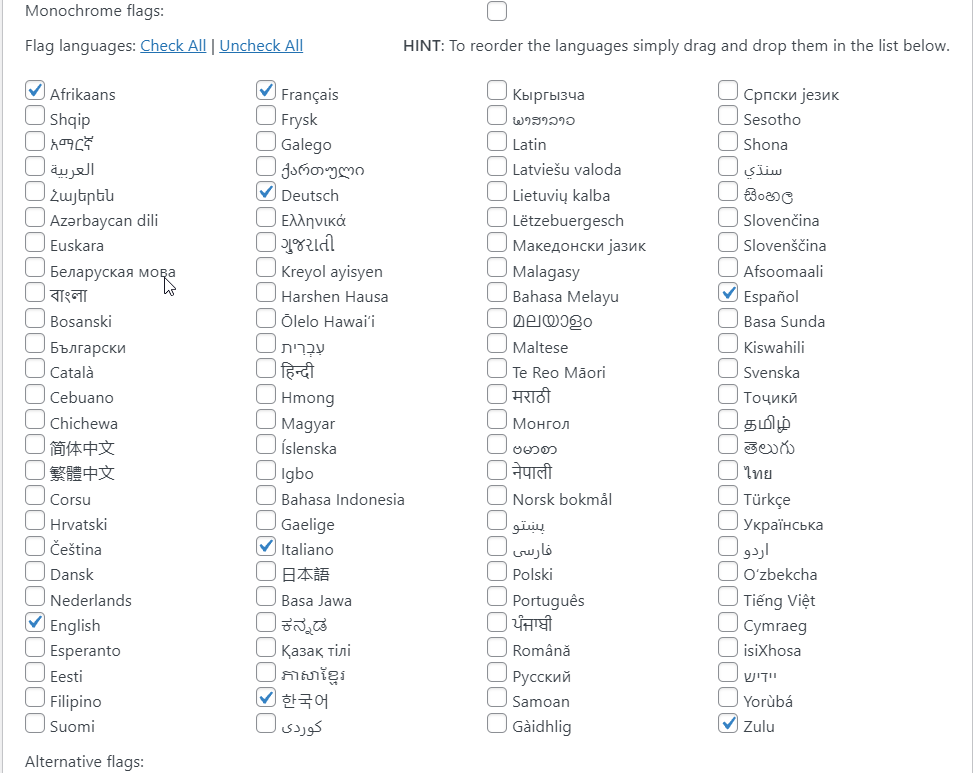
- Select Languages. Check the languages you would like people to translate.
Step 4: Save Settings
Save the settings and view the widget on the front end. If you have decided to place it yourself then use the shortcode above.
Premium Version
The premium version of this plugin has the ability to automatically translate the URL structure. This is excellent for SEO.