Installation
Divi 5 first
Install the same plugin on Divi 5 or Divi 4. Module steps in these docs use the Divi 5 Visual Builder. Classic Builder steps stay under Modules → Divi 4.
Prerequisites
- WordPress — Current stable version
- Divi — Latest Divi 5 or Divi 4
- Divi Membership — Purchased from Divi Engine
Download and install
- Log in to your Divi Engine account.
- Go to Downloads (or Orders → your Divi Membership order).
- Download the Divi Membership plugin package.
- In WordPress, go to Plugins → Add New.
- Click Upload Plugin, choose the downloaded file, then click Install Now.
- After the plugin is installed, click Activate.
tip
You can also upload the plugin via FTP or your host's file manager to wp-content/plugins/, then activate it from Plugins in WordPress.
License
The license is set under Divi Engine → License. All Divi Engine product licenses are managed there.
- Log in to your Divi Engine account.
- Go to Orders and open your Divi Membership order.
- Click Manage License.
- Generate a license key (or copy an existing one).
- In WordPress, go to Divi Engine → License.
- Find Divi Membership and paste the license key into the License field, then save.
Your license status appears there. Keep the key private.
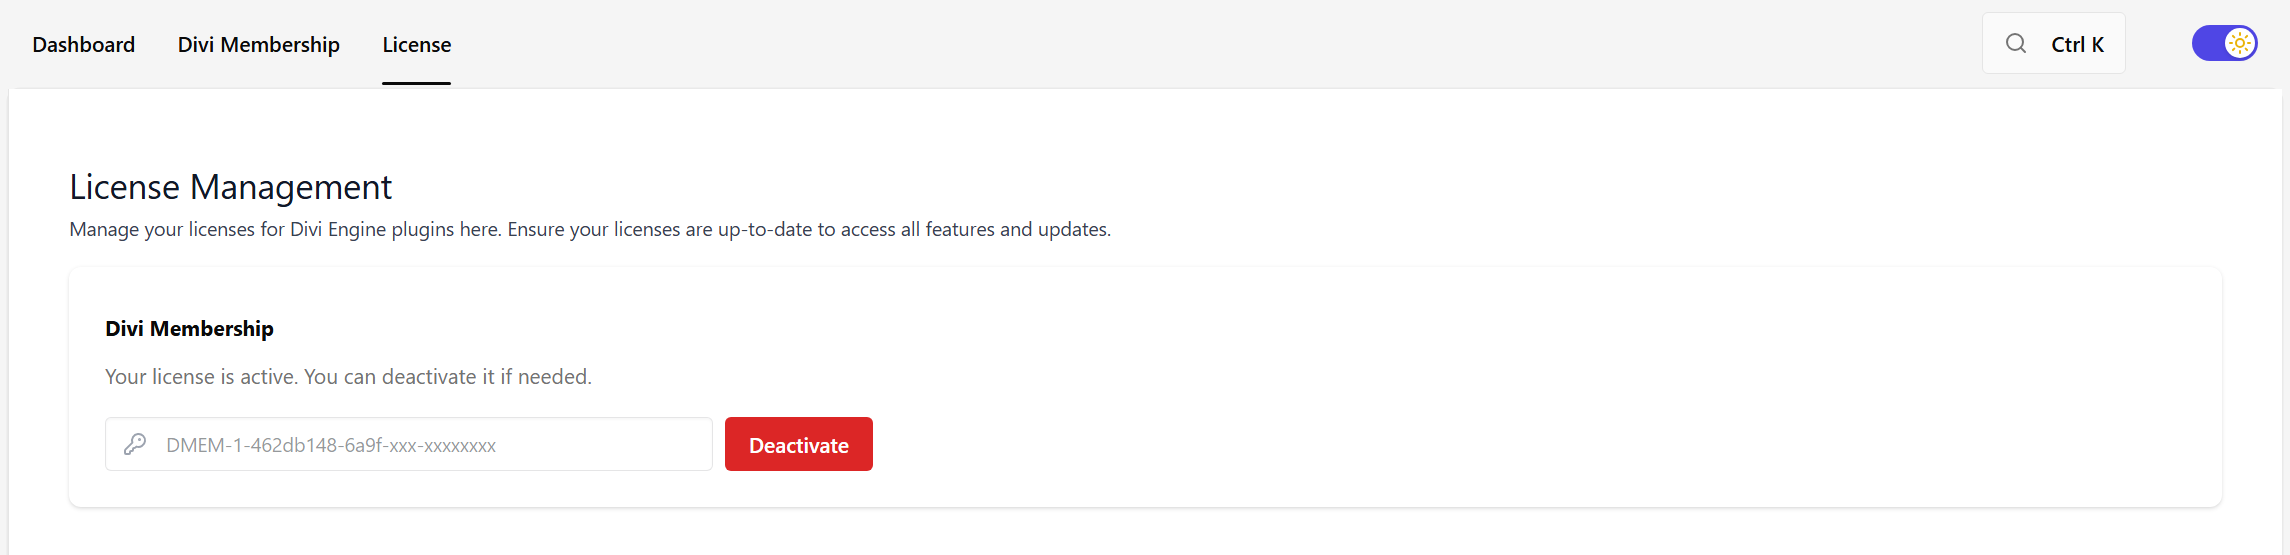
Confirm it is active
After activation you should see:
- Divi Engine in the WordPress admin menu.
- Divi Engine → Divi Membership opens plugin settings (General, Endpoints, Payment Gateways, and the rest).
- On Divi 5, the Visual Builder module folder Divi Membership lists Registration Form, Signup Form, Login Form, Membership Item, Membership Cycle Switcher, User List, and User Item.
If the menu does not appear, confirm the plugin is active under Plugins.
What's next
- Quick start — One plan, content restriction, and a registration form.
- Feature overview — Plans, payments, trials, coupons, account, and reporting.
- Registration Form — The signup form in the Visual Builder.